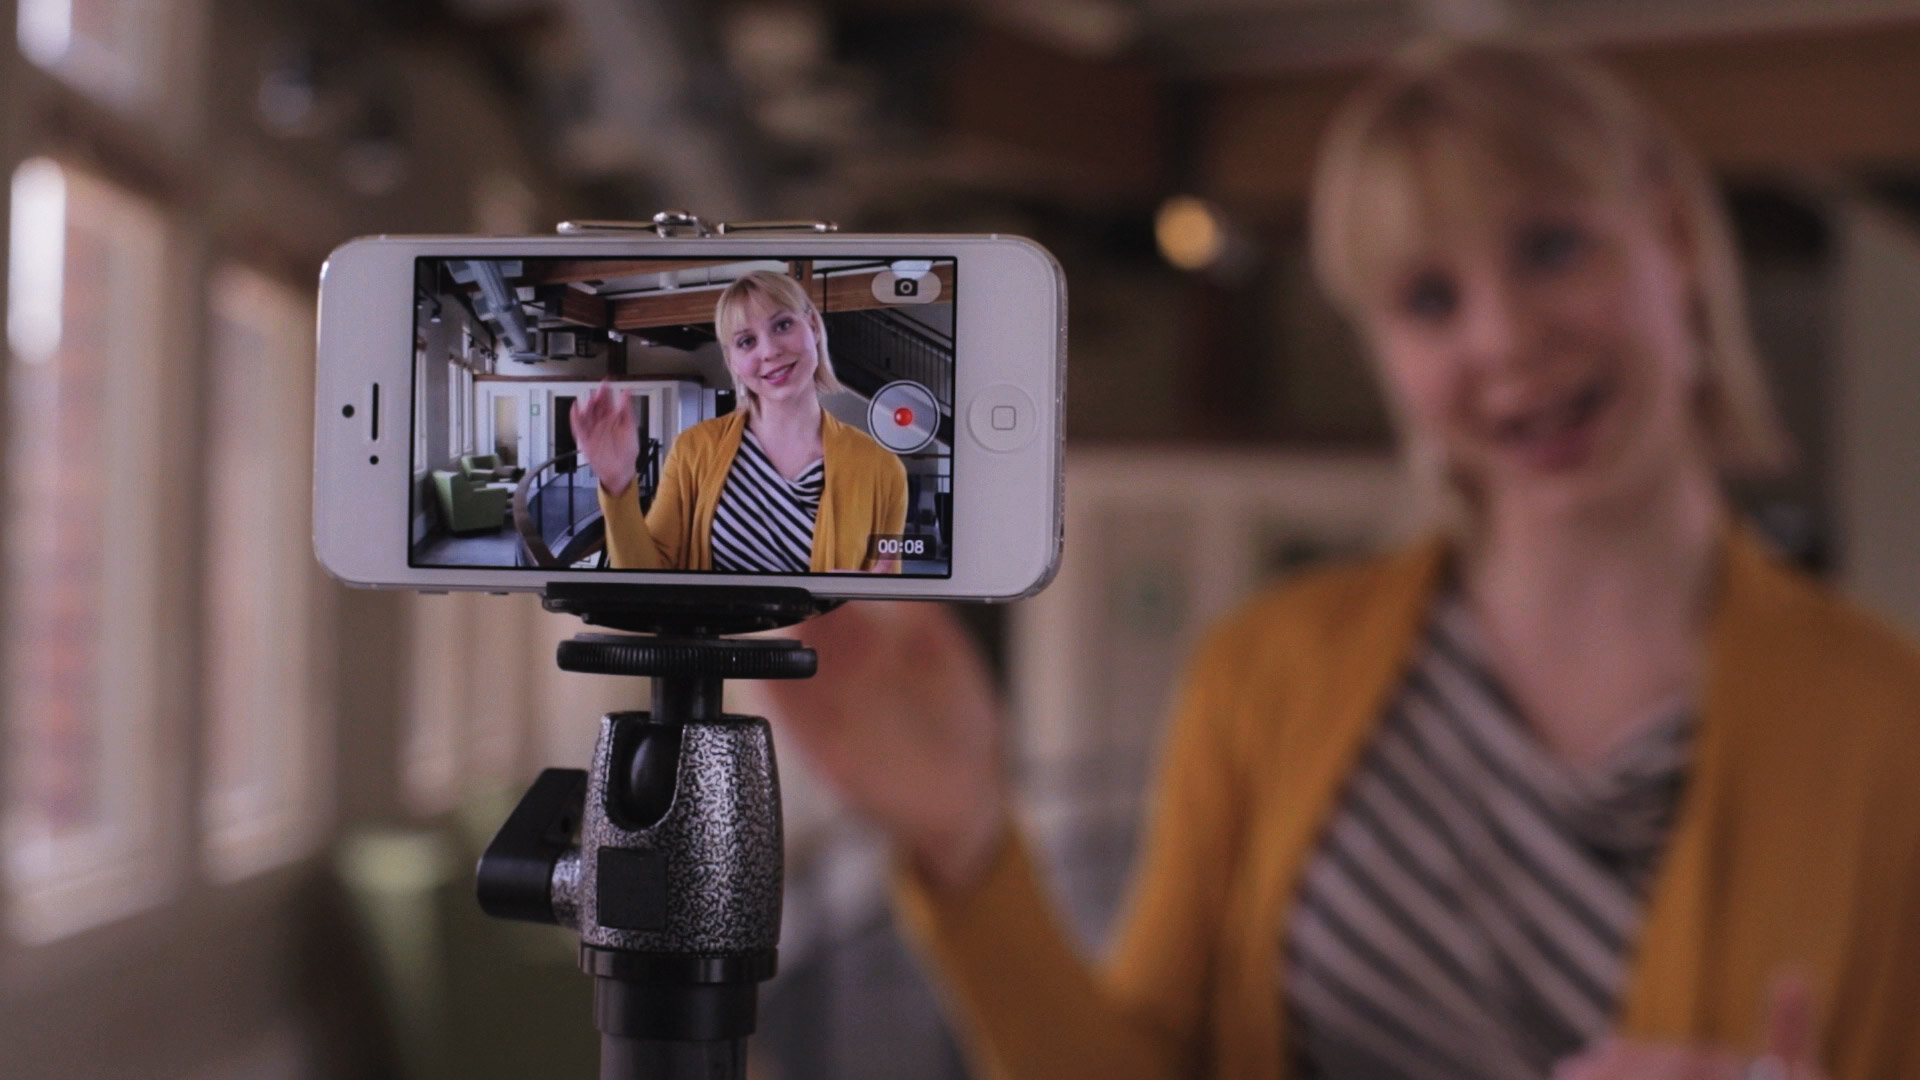
11 tips to create professional quality videos with your phone
Courtesy photo
A great video starts with great footage.
While there’s nothing like a film team with professional cameras, sound equipment, lighting, and endless accessories that make video footage look and sound professional, that smartphone in your pocket plus some helpful things around your house might be all you really need.
Technological advancements have even enabled some creatives to shoot feature films entirely on smartphones—renowned director Steven Soderbergh, for example, shot his 2018 psychological thriller “Unsane” on an iPhone 7 Plus. Every new generation of phones comes with new features such as higher resolution, better quality in low-light conditions, improved image stabilization, added lens options, and better sound quality.
These days you may find yourself needing to record video from home. Don’t be shy, grab your mobile phone, and follow these simple steps to capture the best footage for your video project.
How to Prepare Your Phone
Clean your lens prior to filming. I can’t stress this enough. With a location that makes it prone to be touched, your phone’s lens is often quite dirty or smudged. Wiping it down with a non-abrasive cleaner such as a microfiber cloth will guarantee the sharpest video for your phone’s hardware.
Optimize your resolution. Most cameras support 1080 HD or 4K resolution. For most projects, HD will suffice, but if you or your editor plan on zooming in in post-production, opt for 4K to get a sharper image. Just remember that your files will be a lot larger.
Set your frames per second. 30 frames per second (fps) is the standard for television. But if you think you’ll need to slow down the footage and need something sharper, use 60 fps, which is used for recording scenes with a lot of motion and activity. For iPhones, go through settings > camera > record video > 1080p at 30fps or 4K at 30fps. For most Android/Pixel products, open camera > video > settings > 30 fps. Click the settings button to make sure the camera is set to full resolution.
How to Setup Your Scene
Lighting: I always suggest natural lighting if possible. The best spots during the day are either in the shade or inside in front of a window—that’s with the window behind your camera, not behind you. Avoid harsh, bright lighting. If you need to squint, it’s probably too bright. Always avoid appearing backlit unless you’re going for that mysterious effect. For the most flattering lighting without any equipment, shoot outdoors in the morning or at dusk.
Angle: When filming yourself, hold or place the camera at eye level. This way, it feels like you’re speaking to the person watching.
Orientation: Landscape has been the go-to since the invention of film because it replicates how we see the world. Vertical, however, does play an important role now, especially when viewing videos on phones and social media apps. Ask yourself the degree of formality you're going for. If you intend to upload this video to YouTube or share with a film team, shoot landscape. If you're looking for a sense of spontaneity or if your end goal is to upload something to the Stories feature of social media, filming vertically makes more sense.
Stabilization: While most new phones have built-in stabilization, it’s still best to set up your phone to limit movement. Place your camera on a phone tripod or lean it up against a flat surface. If someone is holding the camera for you, ask them to tuck their elbows into their side, hold the phone with two hands and stand with their weight evenly distributed on both feet. This will help minimize movement.
Noise: The built-in microphone on your phone is fantastic, but it will likely pick up background noise. Film when background noise is minimal. If you need to film with people around you, avoid loud noises such as music, shouting, and excessive beeping. If your air conditioning, heating, or fan is too loud, turn it off while you capture footage.
How to Be on Camera
While being on camera can be a little nerve-racking, stay natural. Smile if appropriate, and talk slowly, clearly, and into the camera. Don’t move your head too much while you deliver your message.
If you’re using the camera’s built-in microphone, don’t stand too far back. Position yourself close to the camera to capture clean audio.
It’s okay to film multiple takes as you refine your delivery. But whether you intend to keep a take or not, try to get through the whole message—from beginning to end—as a matter of practice. If you don’t like your recording, simply try again. That’s the magic of technology.
Remember that even things you can't hear, like wind, can be picked up by your phone's microphone. To confirm the audio is high-quality, your best bet is to film a quick test and watch it back—if your voice is muffled, stand closer to the phone (and make sure no fingers are covering the mic), and if the background noise is distracting, see what you can do to minimize it, including finding a quieter location to record.
Above all, try to silence your inner critic and enjoy the process. Be kind to yourself as you practice and perfect the art of filming and message delivery.
You’ll soon be a pro in filming a homemade video that doesn’t look homemade.
Meilin Hyde
Meilin Hyde is CKP’s videographer and has a passion for capturing beautiful, effective and award-winning visuals that tell the right story for the right audience.


